
Building a website no longer requires coding expertise or hiring expensive developers. Thanks to tools like Elementor, one of the most popular WordPress website builders, anyone can create professional, visually stunning websites in just a few steps.
But while Elementor is powerful, combining it with an advanced toolkit like Element Pack takes your website to the next level.
Whether you’re designing a personal branding site, a business page, or an online portfolio, Element Pack provides a vast library of widgets, templates, and add-ons to make the process faster, easier, and more customizable.
What is Elementor?
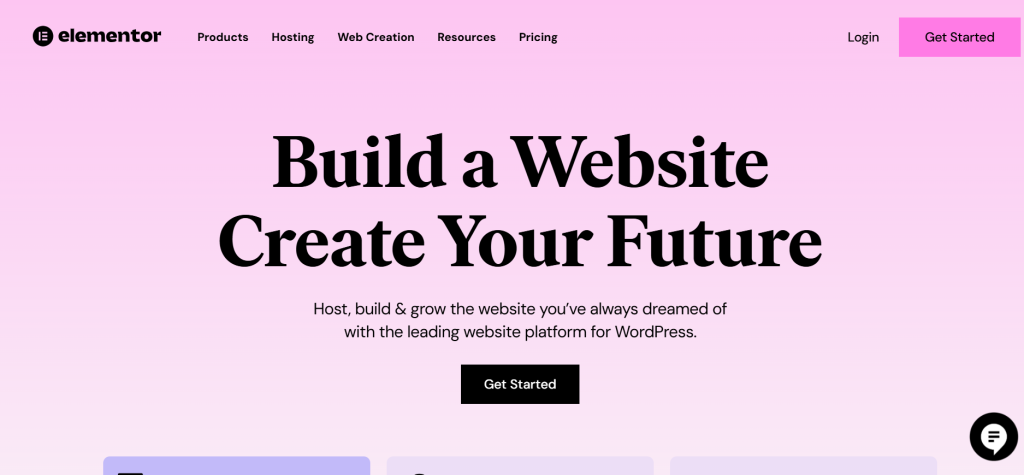
Elementor is a leading WordPress website builder that allows users to design stunning pages and websites with ease.
Unlike traditional website design tools, Elementor provides a user-friendly, drag-and-drop interface, making it accessible even to those without coding knowledge.
With over 12 million active installations, Elementor has become a go-to tool for beginners and professionals alike.
One of its standout features is its live editor, which allows you to see changes in real-time as you build your site. From simple landing pages to fully functional websites, Elementor is the most popular solution for creating designs that align with your vision.
How Does Elementor Work on WordPress?

Elementor seamlessly integrates with WordPress, enhancing its capabilities by giving users control over every design aspect of their site.
Once installed and activated, Elementor replaces the traditional WordPress editor with its intuitive visual editor, allowing you to add and customize content widgets like headings, images, forms, and more.
While the Elementor page builder offers robust features, its freemium pricing model makes it even more appealing. The free version includes basic widgets and templates, ideal for smaller projects for beginners.
For advanced features, such as premium templates, animation effects, and dynamic content, the Pro version is available.
Elementor has launched the AI Site Planner, which automates website structure and content planning to streamline the design process. The platform will introduce more AI-powered features to enhance customization and improve user experience, making web design faster and more efficient.
However, even the Pro version has limitations, which is why many users choose to enhance their Elementor experience with Element Pack. This plugin provides a comprehensive library of widgets, add-ons, and pre-designed templates, making it the ultimate extension for WordPress Elementor website builders.
Elementor Pricing Model
Elementor’s pricing structure follows a freemium model:
- Free Version: Basic features like essential widgets, drag-and-drop editing, and a limited template library.
- Elementor Pro: Advanced features such as WooCommerce integration, custom CSS, and premium templates. Pricing for Elementor Pro starts at $59 per year.
For those looking to maximize their Elementor setup without breaking the bank, Element Pack Lite (a free version of Element Pack) offers extended functionality and is available on the WordPress repository.
For more advanced features, you can upgrade to the premium version of Element Pack.
How to Use Elementor to Build a Website for Free?
Now that you have a clear understanding of what Elementor is and how it works, let’s walk through the process of building your website step by step.
We assume your WordPress website is already up and running. With that in place, let’s move on to the first step.
Step 1: Install and Activate Elementor
The first step to building your WordPress website is to install and activate the Elementor page builder.
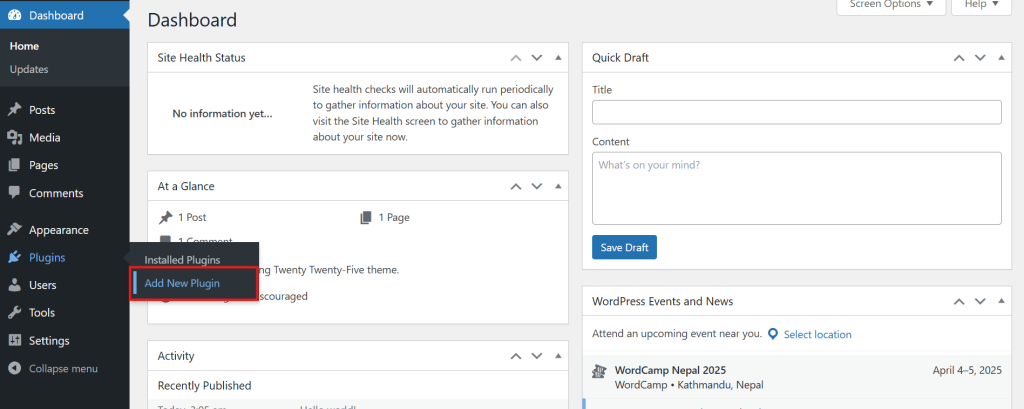
- Log in to your WordPress admin panel. This is where you’ll manage your website and install the plugins needed to create a stunning site.
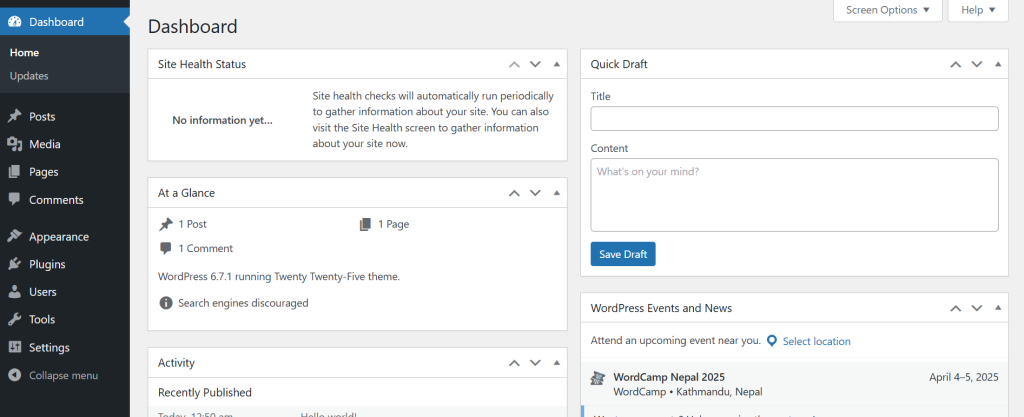
- On the left-hand menu of the WordPress dashboard, hover over Plugins and click on Add New. This will open the plugin repository, where you can search for Elementor.
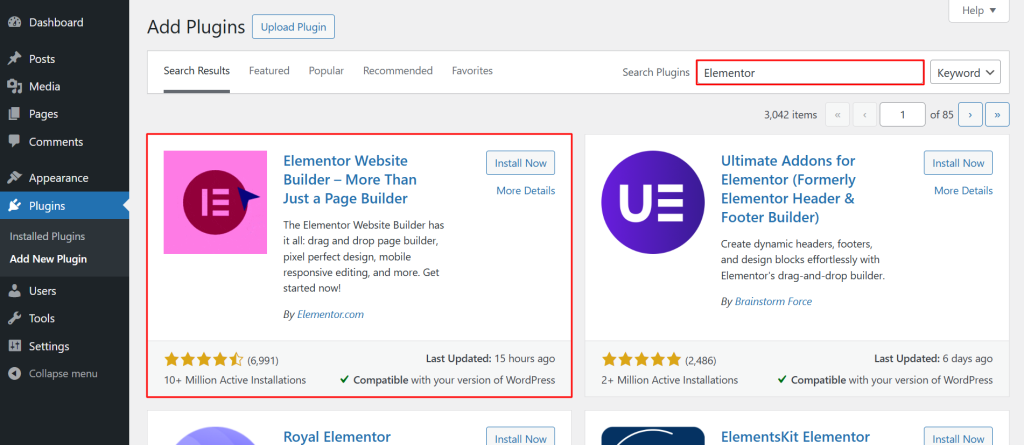
- In the search bar at the top-right corner, type Elementor. The official WordPress Elementor website builder plugin will appear in the search results.
- Click the Install Now button next to the Elementor plugin. This process might take a few seconds, depending on your internet speed.
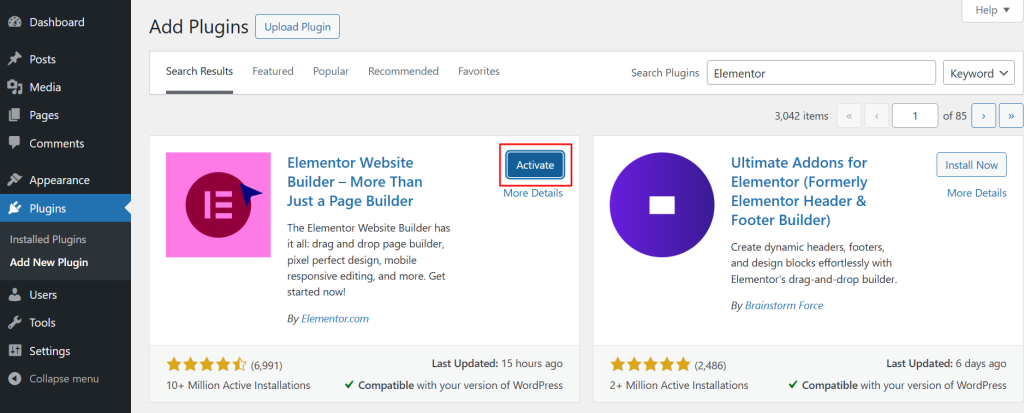
- Once installed, click the Activate button.
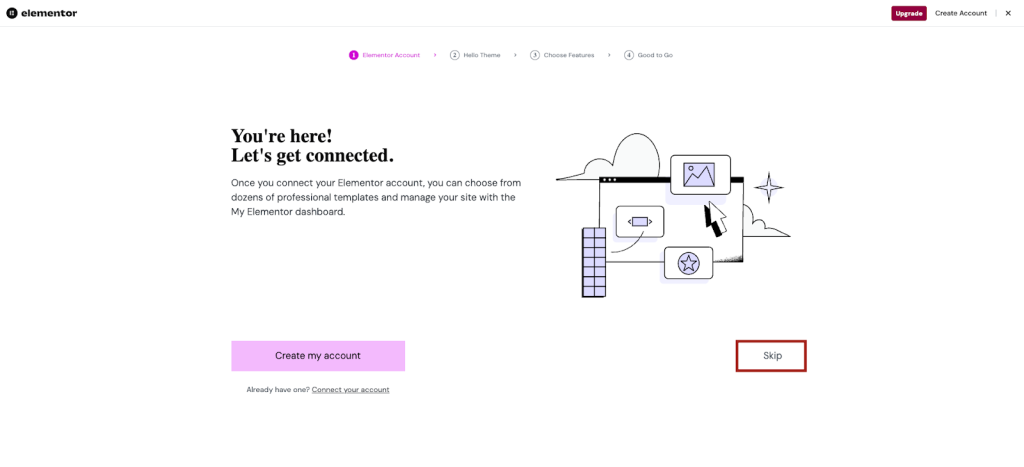
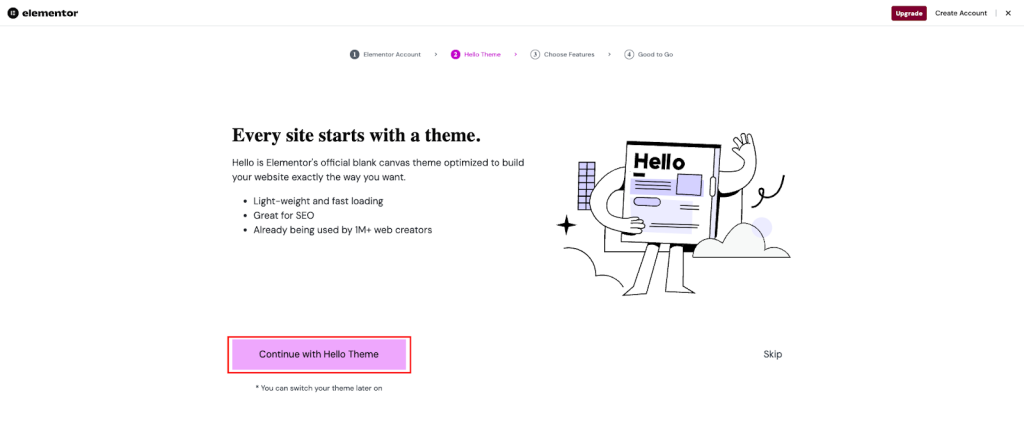
- Now select the skip option.
- Hit the Continue with Hello Theme option.
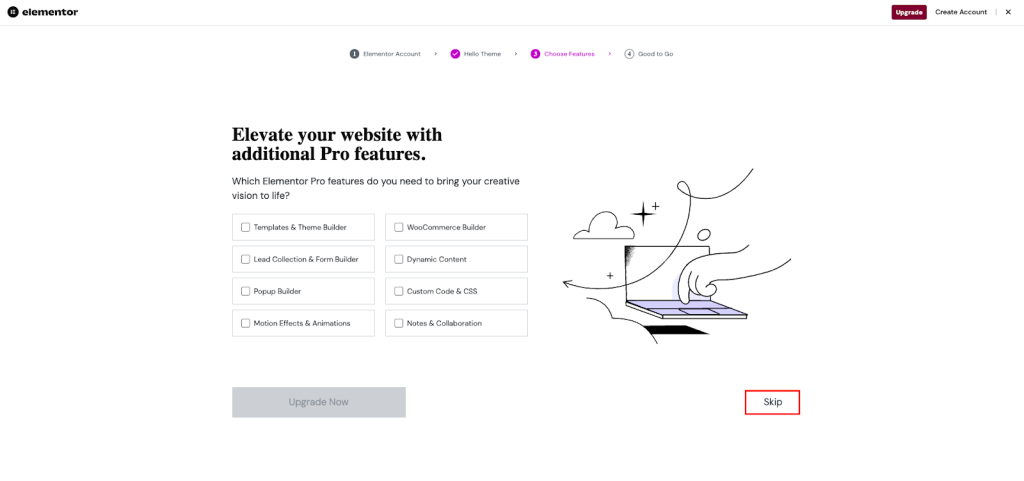
- Now click on the Skip option.
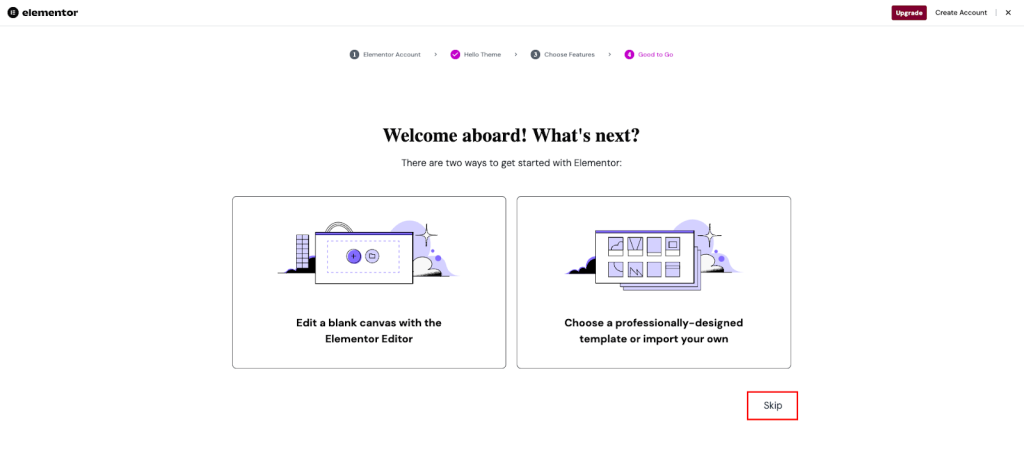
- Select the Skip option.
- Again, select the Skip option.
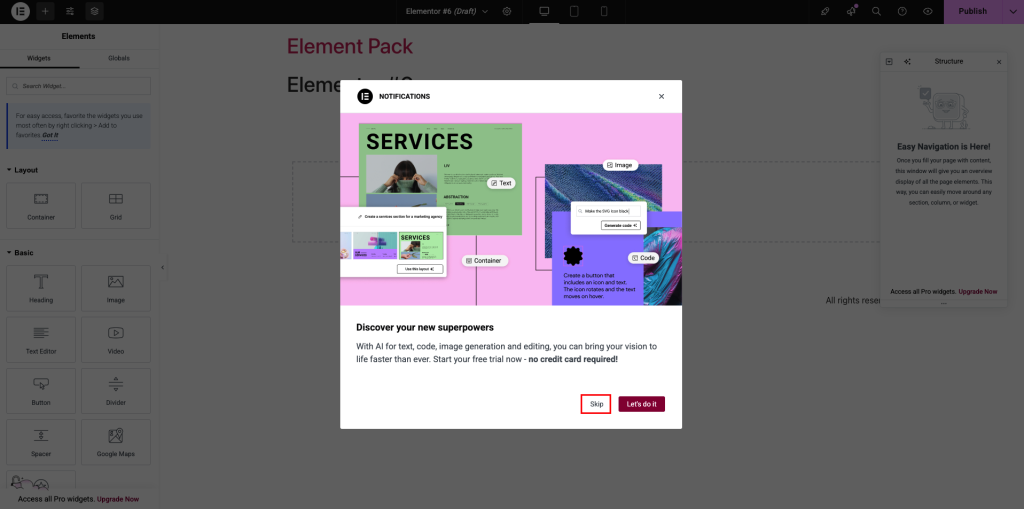
Finally, you’ll get the Elementor editor panel up and running to design and develop your website.
You’ll see a new menu item called Elementor in the WordPress admin dashboard. This is where you’ll access settings, start designing, and manage your templates.

Step 2: Install and Activate Element Pack
While Elementor offers a strong set of features for building websites, its free version comes with certain limitations.
That’s where Element Pack steps in to enhance your experience.
Whether you’re using the free Element Pack Lite or upgrading to the premium version for advanced features, this extension significantly expands your design possibilities.
Here’s how to install and activate it:
- Log in to your WordPress admin panel and navigate to Plugins > Add New.
- In the search bar, type “Element Pack.”
- Locate the plugin developed by BdThemes and click Install Now.
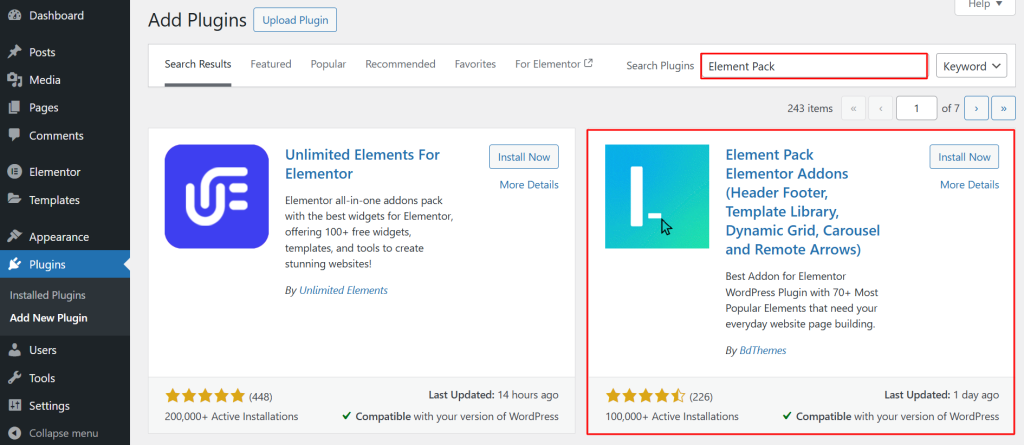
- Once installed, click Activate to enable the plugin.
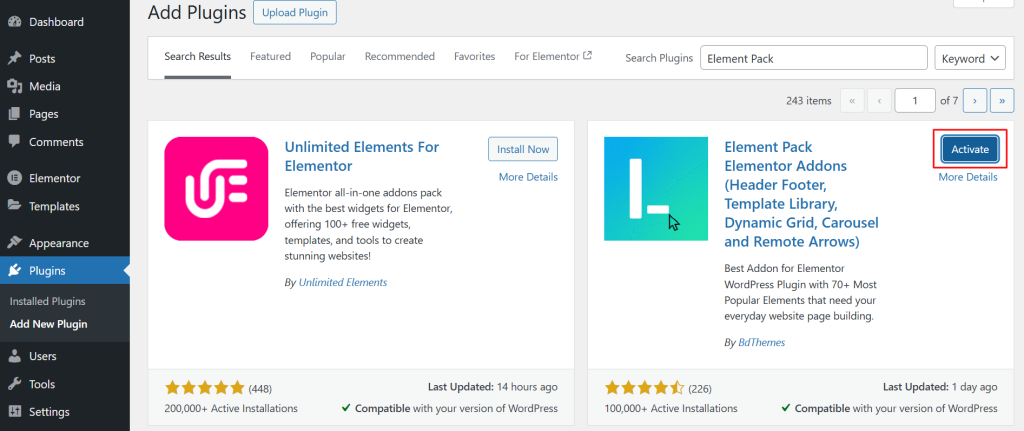
We suggest starting with the free version to explore its capabilities. You can always switch to Pro for advanced features as your website grows.
Step 3: Choose a Template for Your Website
Designing a website from scratch can be daunting, but with Element Pack’s extensive template library, you can quickly get started using pre-designed layouts tailored to your needs.
These templates save you time while maintaining a professional look, whether you’re creating a portfolio, business website, or e-commerce store.
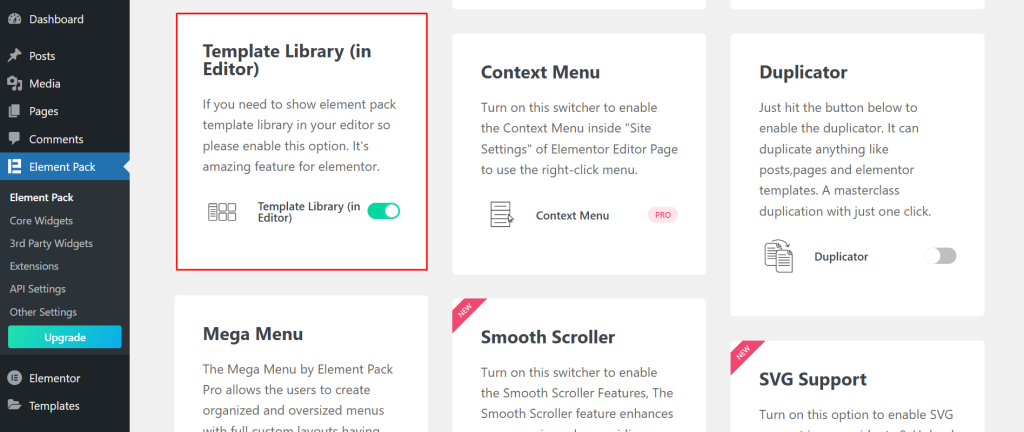
In order to use the Element Pack’s template, you have to enable the template library in the editor.
- Head to Element Pack > Other Settings.
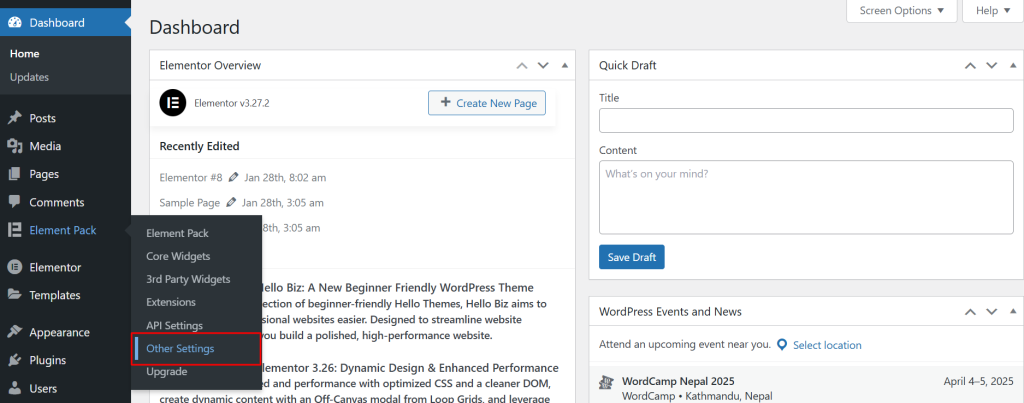
- Select the Template Library (in Editor) and enable it.
To ensure that you can access the Elementor Pack with the editor, you have to activate the container.
For this,
- Navigate to Elementor > Settings and select the option of Features.
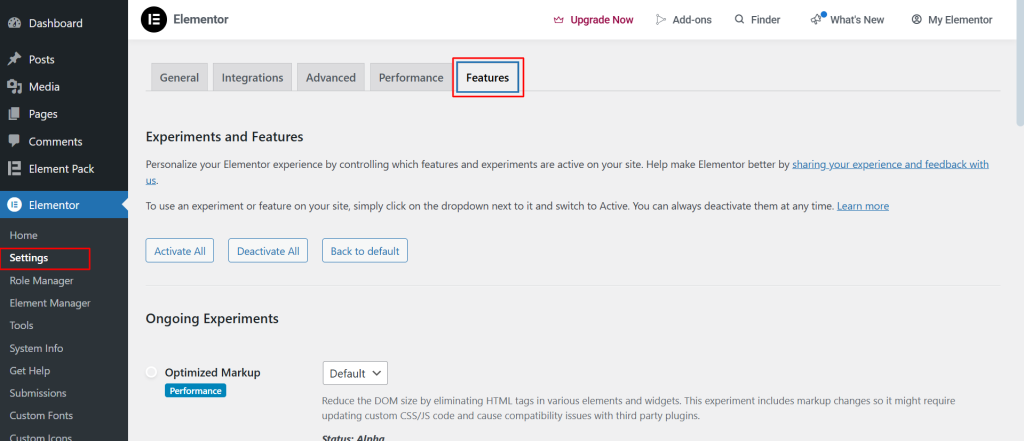
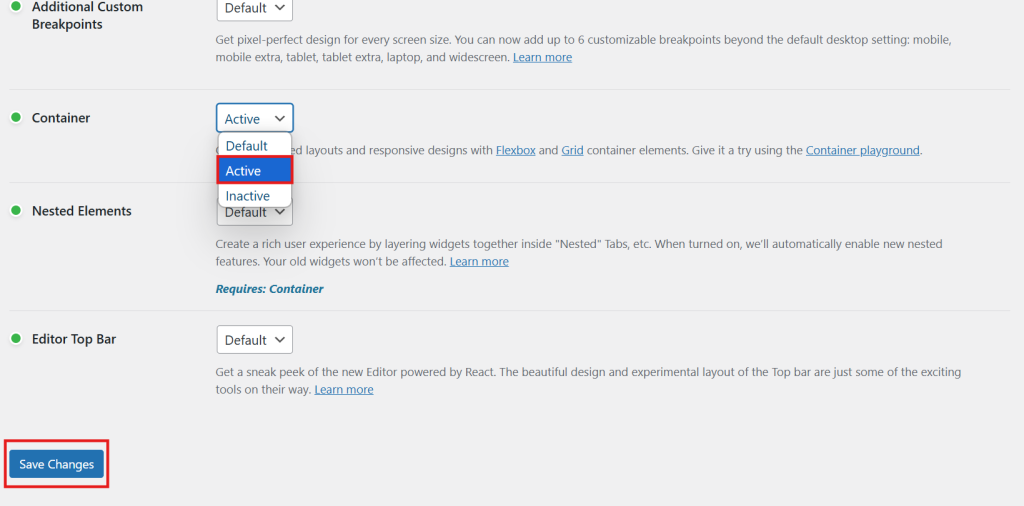
- Scroll down to the Container, activate it and Save Changes.
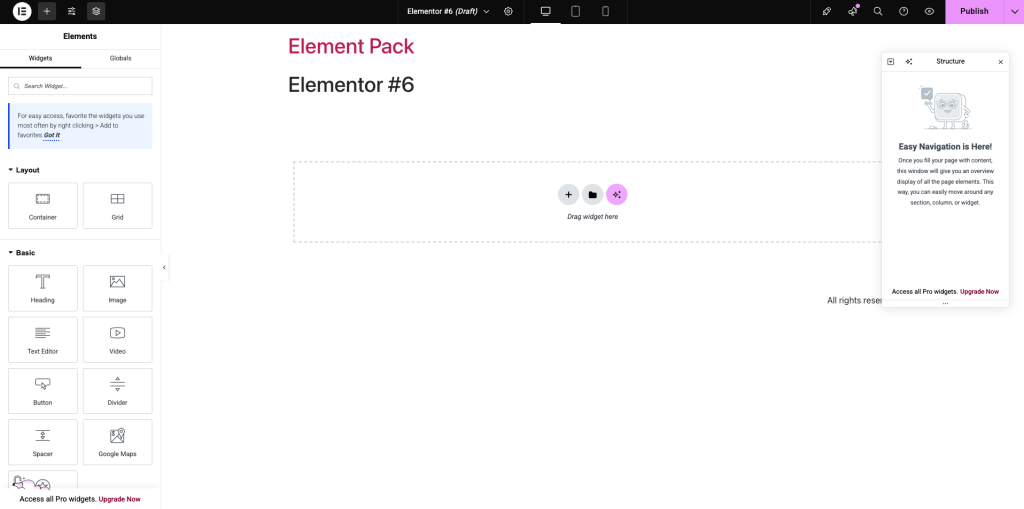
Now, you will have the Element Pack’s template library available with the Elementor editor.
Once enabled,
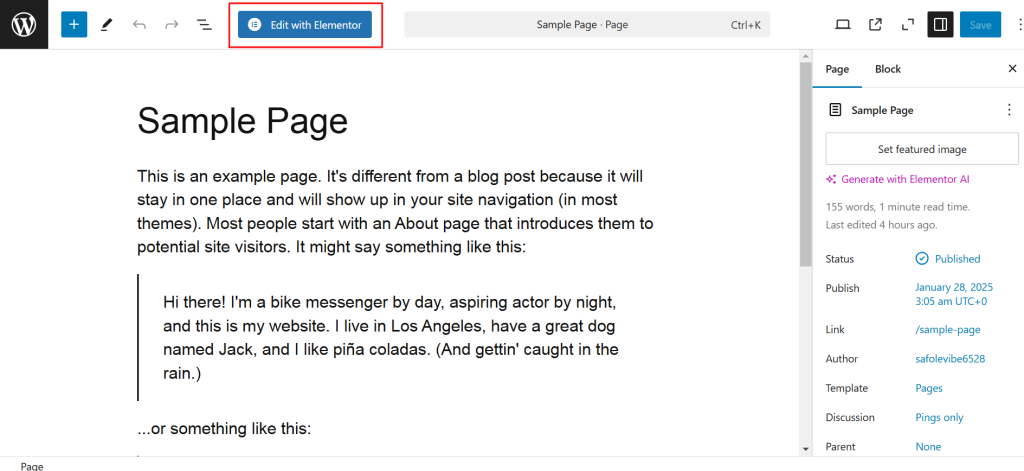
- Navigate to your WordPress Dashboard and open the page you want to edit or create a new page.
- Click Edit with Elementor to launch the visual editor.
- Inside the editor, select Element Pack.
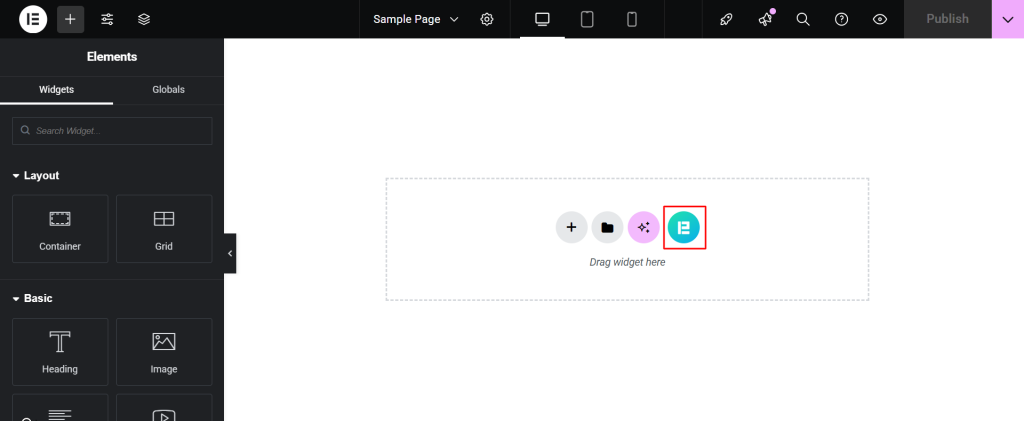
- Select Element Pack Templates from the options provided. This will display a curated library of professionally designed templates.
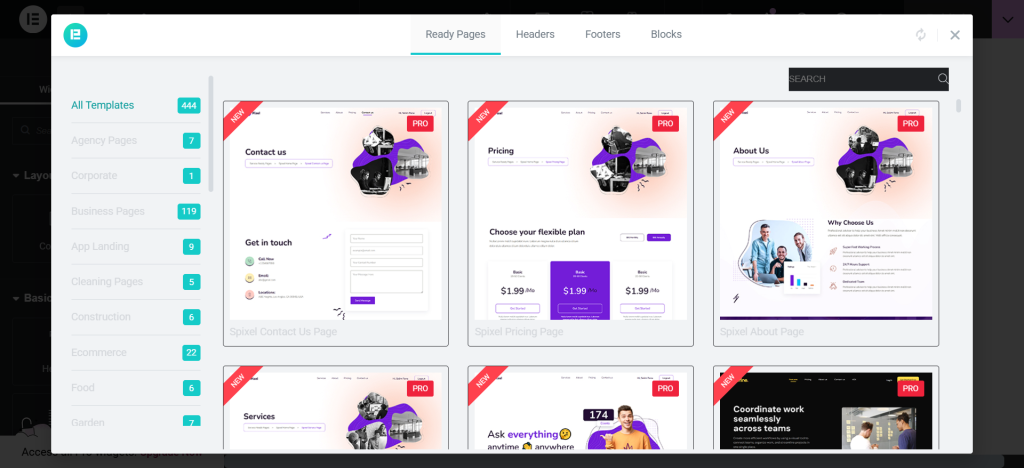
- Use the search bar or filters to find templates by type (e.g., Portfolio, Business, E-commerce).
Each template is responsive and customizable, ensuring it works seamlessly across devices.
- Hover over any template to see a Preview button. Click it to view the design and layout in detail.

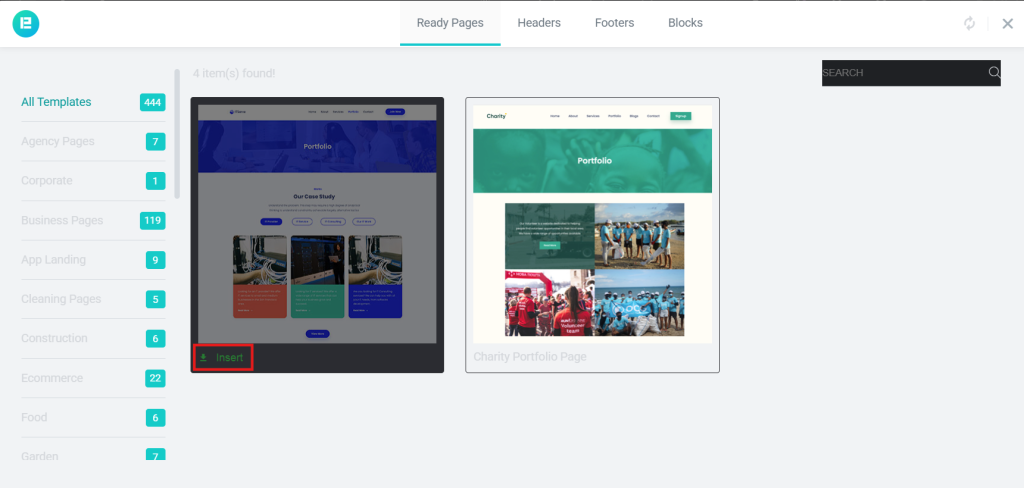
- Once you’ve found a template that fits your needs, click Insert to add it directly to your page.
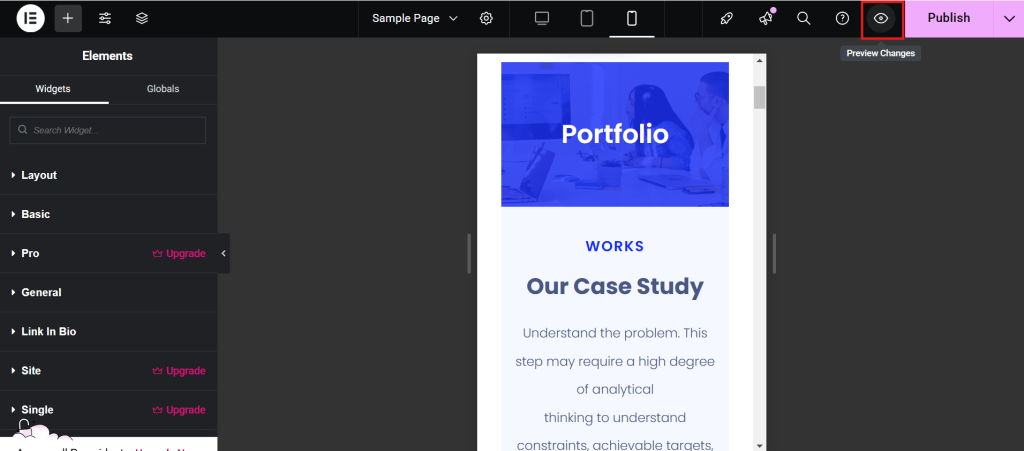
For this article, we will be selecting a portfolio template.
- Wait a few seconds for the template to load in the editor.
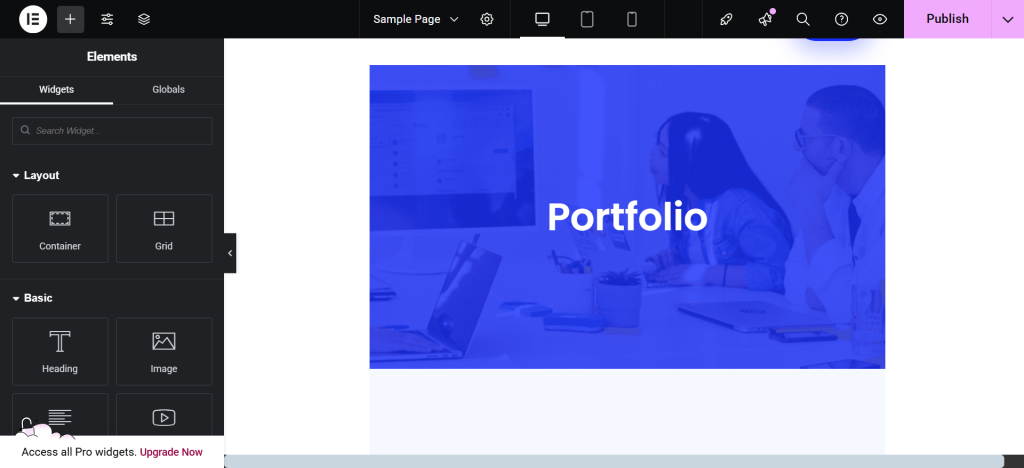
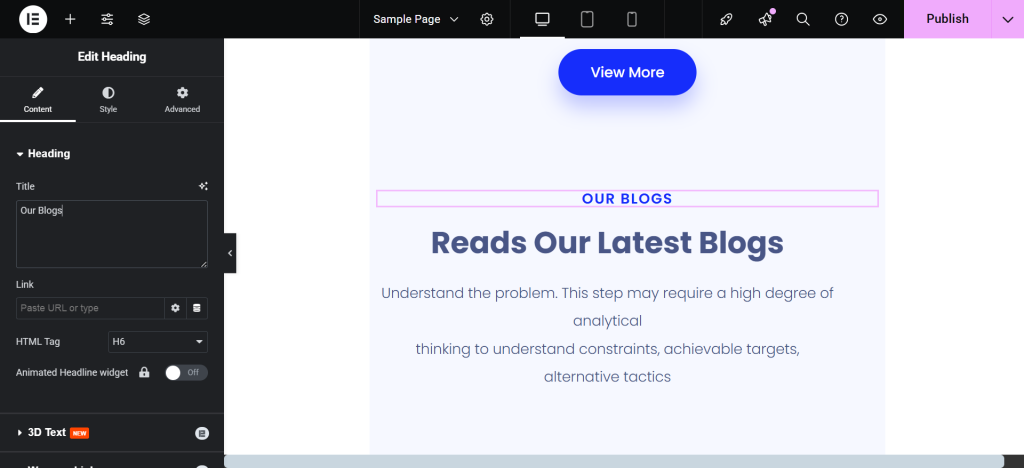
- Replace the placeholder text and images with your content. The drag-and-drop feature makes it simple to adjust elements like headings, images, and buttons.
Benefits of Using Element Pack Templates
- Saves Time: Pre-designed templates let you skip the lengthy design process.
- Versatility: Choose from a range of styles tailored for various industries.
- Professional Finish: Developers created it with modern design trends in mind, ensuring your website looks polished.
Step 4: Customize Your Website Layout
Once your chosen template is in place, it’s time to make it truly yours by customizing the layout and design.
Elementor and Element Pack widgets provide the flexibility to adjust every element, ensuring your website reflects your unique style and purpose.
Using Drag-and-Drop for Layout Customization
- Click on any section, column, or widget to modify its position.
- Use the drag-and-drop interface to move elements to your desired location on the page.
- Resize columns by dragging the column handles to create your preferred layout.
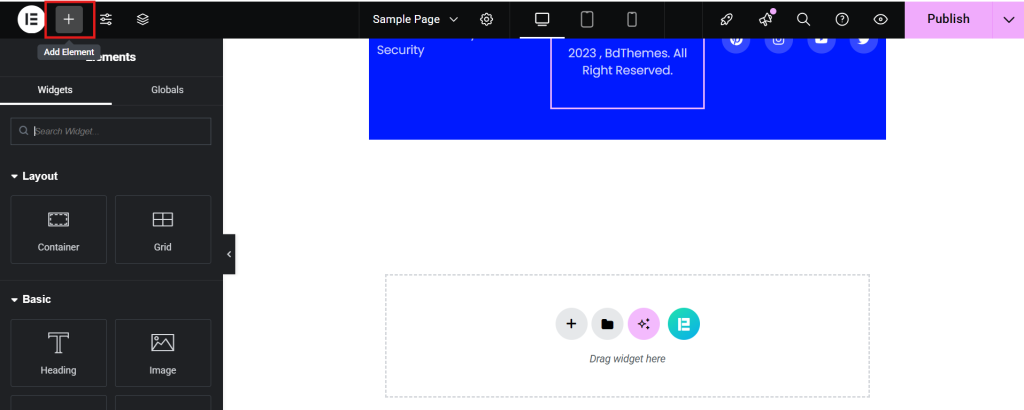
- Add new sections or columns by clicking the Add Section (+) button in the Elementor toolbar.
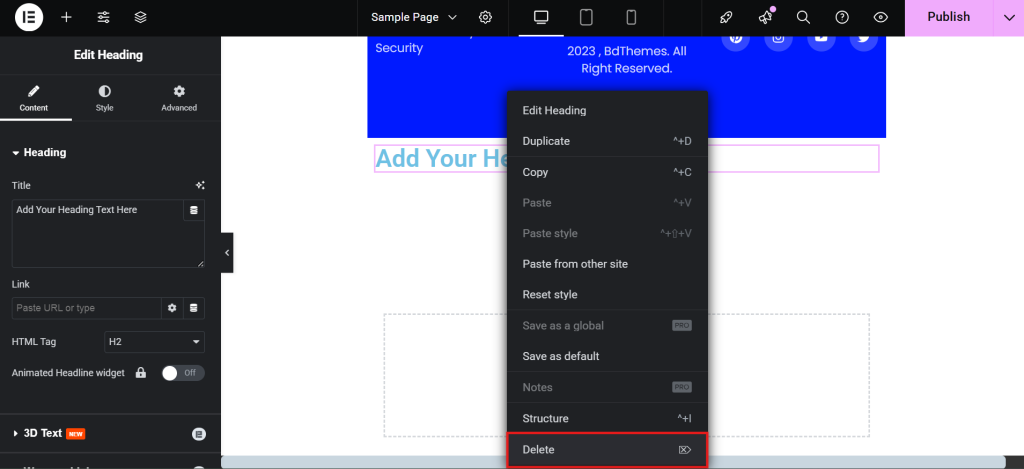
- Use the right-click menu to delete or duplicate widgets and sections for efficiency.
Utilize Key Widgets for Customization
Element Pack offers advanced widgets that elevate your design:
- Advanced Tabs
- Add stylish, tabbed content areas to organize information cleanly.
- Customize tab headings, content, and styles directly in the widget settings.
- Carousel Widget
- Showcase images or testimonials in an eye-catching slider format.
- Adjust transition effects, speed, and navigation options to match your site’s aesthetic.
- Create attractive pricing tables for services or products.
- Highlight specific plans by adding badges or emphasizing columns with unique colors.
Feel free to explore over 290+ widgets and elements – experiment with them to maximize their potential.
Step 5: Add Interactive Features with Element Pack
Interactive elements are key to keeping visitors engaged and enhancing their browsing experience.
With Element Pack, you can effortlessly add dynamic and interactive widgets like accordions, sliders, and galleries that make your website stand out.
Why Interactive Features Matters
Interactive elements do more than just look appealing:
- They encourage users to explore your content.
- They improve the overall user experience (UX).
- They help present information in a clear, structured, and engaging manner.
Adding Accordions for Compact Information
Accordions are perfect for FAQs, product details, or step-by-step guides. Here’s how to add them:
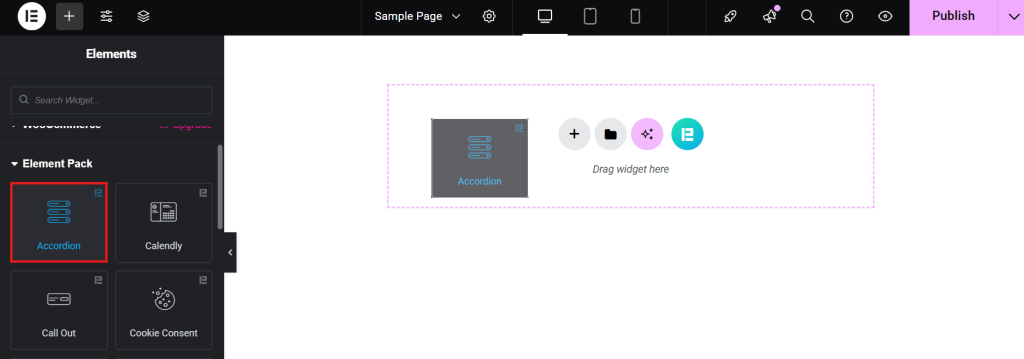
- In the Elementor editor, navigate to the Element Pack Widgets section.
- Drag the Accordion widget onto your page.
- Add your titles and descriptions for each section.
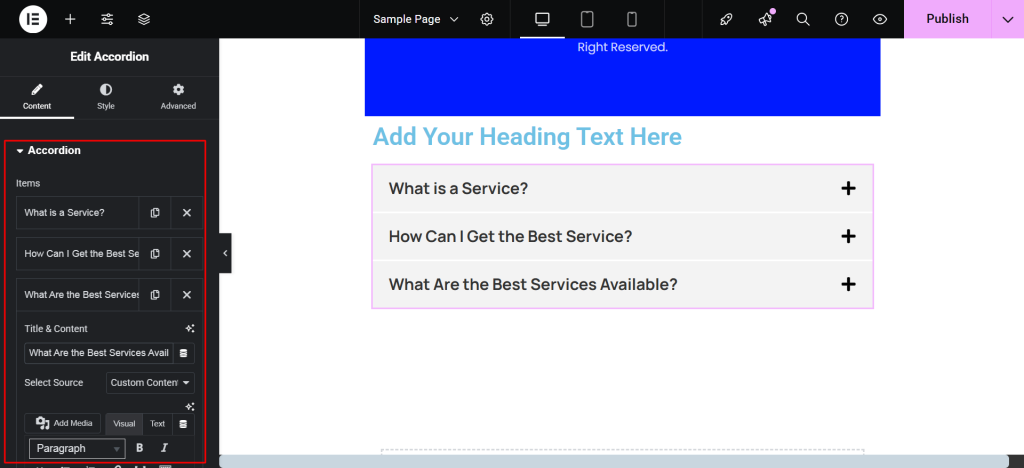
- Adjust the icon, typography, and spacing to match your site’s design.
- Use the Style Tab to customize colors, borders, and hover effects.
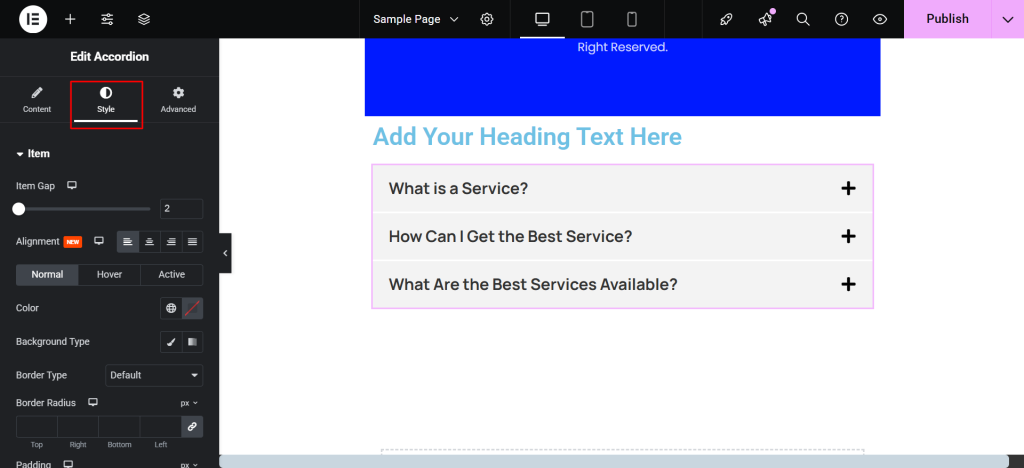
- Enable or disable the ability to keep multiple sections open simultaneously.
Live Preview and Test Your Features
- Preview your site and click through interactive elements to ensure they function smoothly.

- Use compressed images and streamlined effects to maintain fast loading times.
Step 6: Optimize Your Website for Mobile and Tablet
In today’s digital landscape, ensuring your website looks great and functions seamlessly on all devices is essential. Elementor and Element Pack make it easy to create a responsive design that adapts perfectly to smartphones, tablets, and desktops.
Why Mobile Optimization is Crucial?
- Over 55% of website traffic comes from mobile devices.
- A responsive website improves user experience (UX) and boosts search engine rankings.
- Ensuring compatibility with smaller screens helps retain visitors and reduces bounce rates.
Using Elementor’s Mobile Editing Tools
- Switch between Desktop, Tablet, and Mobile views.
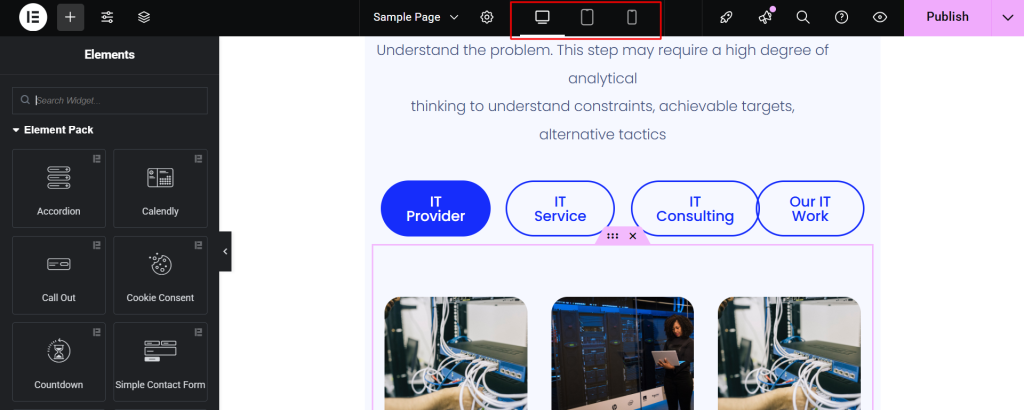
- Resize columns, adjust padding, and change font sizes to ensure content fits well.
- Use the Hide/Show option to display only relevant elements for specific devices.
- Preview the changes in real-time using the responsive editor to ensure everything looks perfect.
How Element Pack Enhances Mobile Responsiveness?
Element Pack widgets are designed to adapt seamlessly across devices:
- Widgets that Resize Automatically: Popular widgets like Advanced Tabs, Image Carousel, and Forms adjust their dimensions automatically for optimal display.
- Custom Breakpoints: Element Pack supports Elementor’s custom breakpoints, giving you precise control over how content is displayed on different screen sizes.
- Touch-Friendly Elements: Interactive features, such as sliders and accordions, are optimized for touch gestures.
Practical Tips for Mobile Optimization
- Simplify Navigation: Use Element Pack’s Mega Menu widget to create compact, mobile-friendly menus.
- Optimize Images: Compress images and use Elementor’s Background Overlay feature to create stunning visuals without slowing your site.
- Test Tap Targets: Ensure buttons and clickable elements are large enough to be tapped easily on smaller screens.
- Check Typography: Use scalable font sizes for readability on all devices.
Test Your Website on Multiple Devices
- Test Responsiveness: Use Elementor’s Preview Changes feature and test your site on real devices.
- Browser Compatibility: Ensure your website displays correctly on popular browsers like Chrome, Safari, and Edge.
Step 7: Enhance Your Website’s Functionality
Your website’s functionality can make or break its usability. While Elementor provides robust customization tools, Element Pack Pro takes it up a notch with advanced features that elevate your website’s performance and user experience.
Let’s explore how to integrate these tools and make your site more dynamic and functional.
What Makes Element Pack Pro Special?
- Advanced Widgets: Access widgets like Dynamic Posts, Mega Menu, and Advanced Forms to handle complex site requirements.
- Dynamic Content: Create pages that display custom content based on user interactions.
- Enhanced Usability: Tools like Login/Register Forms, Event Calendars, and Popup Builders streamline user engagement.
Step 8: Publish and Maintain Your Website
After all your hard work designing and customizing, it’s time to bring your website to life! Publishing your website is a crucial milestone, but maintaining it ensures it stays functional, secure, and up-to-date.
Here’s how to complete the final steps of your website-building journey using Elementor and Element Pack.
Performing Final Checks Before Publishing
Before hitting publish, ensure everything on your site is polished and ready:
- Responsive Design: Use Elementor’s responsive editing tools to verify your site looks great on desktop, tablet, and mobile.
- Navigation and Links: Test all internal and external links to ensure they work correctly.
- Widgets and Features: Double-check that all Element Pack widgets (e.g., Mega Menus, Interactive Galleries, and Forms) function as intended.
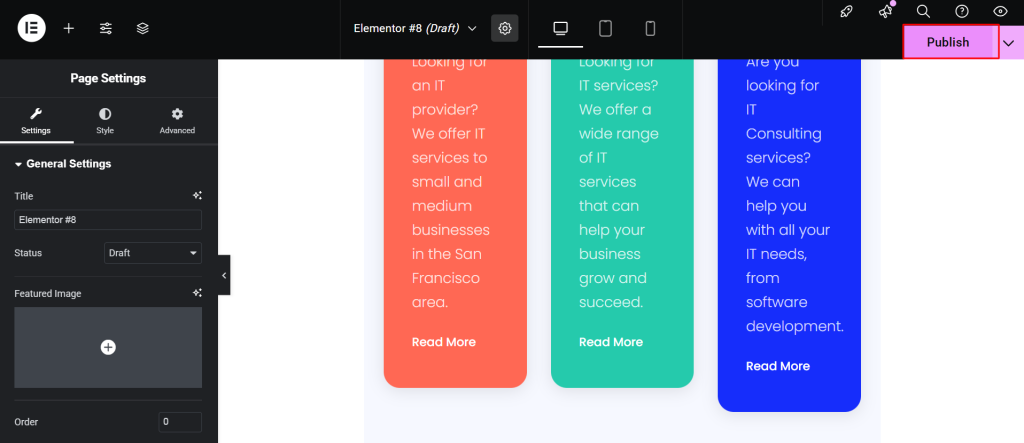
Publishing Your Website
Here’s how to make your website live:
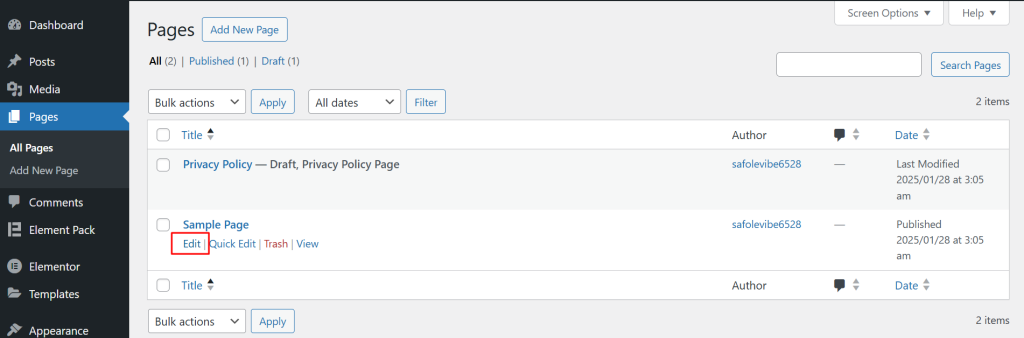
- Go to the WordPress Dashboard.
- Under the Pages section, locate the pages you’ve designed.
- Click Edit on each page, then click Publish or Update.
- Verify the site by visiting its URL to ensure everything is displayed correctly.
Maintaining Your Website with Element Pack
Maintenance is essential to keep your site running smoothly and providing an excellent user experience. Here are some tips to make the most of Element Pack’s features for easy updates:
Use Live Editing for Quick Tweaks
- Elementor allows you to make instant changes to content, layout, or style.
- Benefit: Update seasonal offers, events, or portfolio items without hassle.
Regular Widget Updates
- Element Pack releases regular updates with bug fixes, new widgets, and enhanced features.
- Keep your plugins updated to ensure compatibility and security.
Monitor Performance
- Use tools and plugins to monitor your website’s speed and uptime.
- Optimize images and scripts to maintain quick load times, especially on mobile devices.
Plan Content Refreshes
- Update the dynamic content widgets (like blogs or portfolios) periodically to keep your site relevant.
Sharing Your Website with the World with Element Pack
- Share your website link across social media platforms.
- Use Element Pack’s social widget to display your social media feeds, making it easier for visitors to connect.
Conclusion
Congratulations! You’ve successfully built a professional website using Elementor and Element Pack.
With these powerful tools, you’ve gained access to every widget you need to create a visually stunning and highly functional site—whether it’s for personal branding, a portfolio, or your business.
From selecting the perfect template to adding interactive elements, customizing layouts, and ensuring responsiveness, Elementor and Element Pack have made the website creation process straightforward and enjoyable.
Whether you opted for the free version of Element Pack or unlocked the full potential with the premium Pro version, you now have a dynamic website that’s easy to manage and maintain.
Remember, your website is a living entity. With regular updates, new content, and smart maintenance, you can keep your site fresh and engaging for your visitors.
Elementor’s ease of use combined with Element Pack’s enhancements, will continue to serve as your secret weapon for building, growing, and maintaining a website that stands out.
Ready to Take Your Website to the Next Level?
If you haven’t yet, explore Element Pack Pro for even more powerful features and customization options that will help you push the boundaries of your website’s design and functionality.
Visit the Element Pack Pro website or check out the Element Pack Lite version on the WordPress repository to get started today!